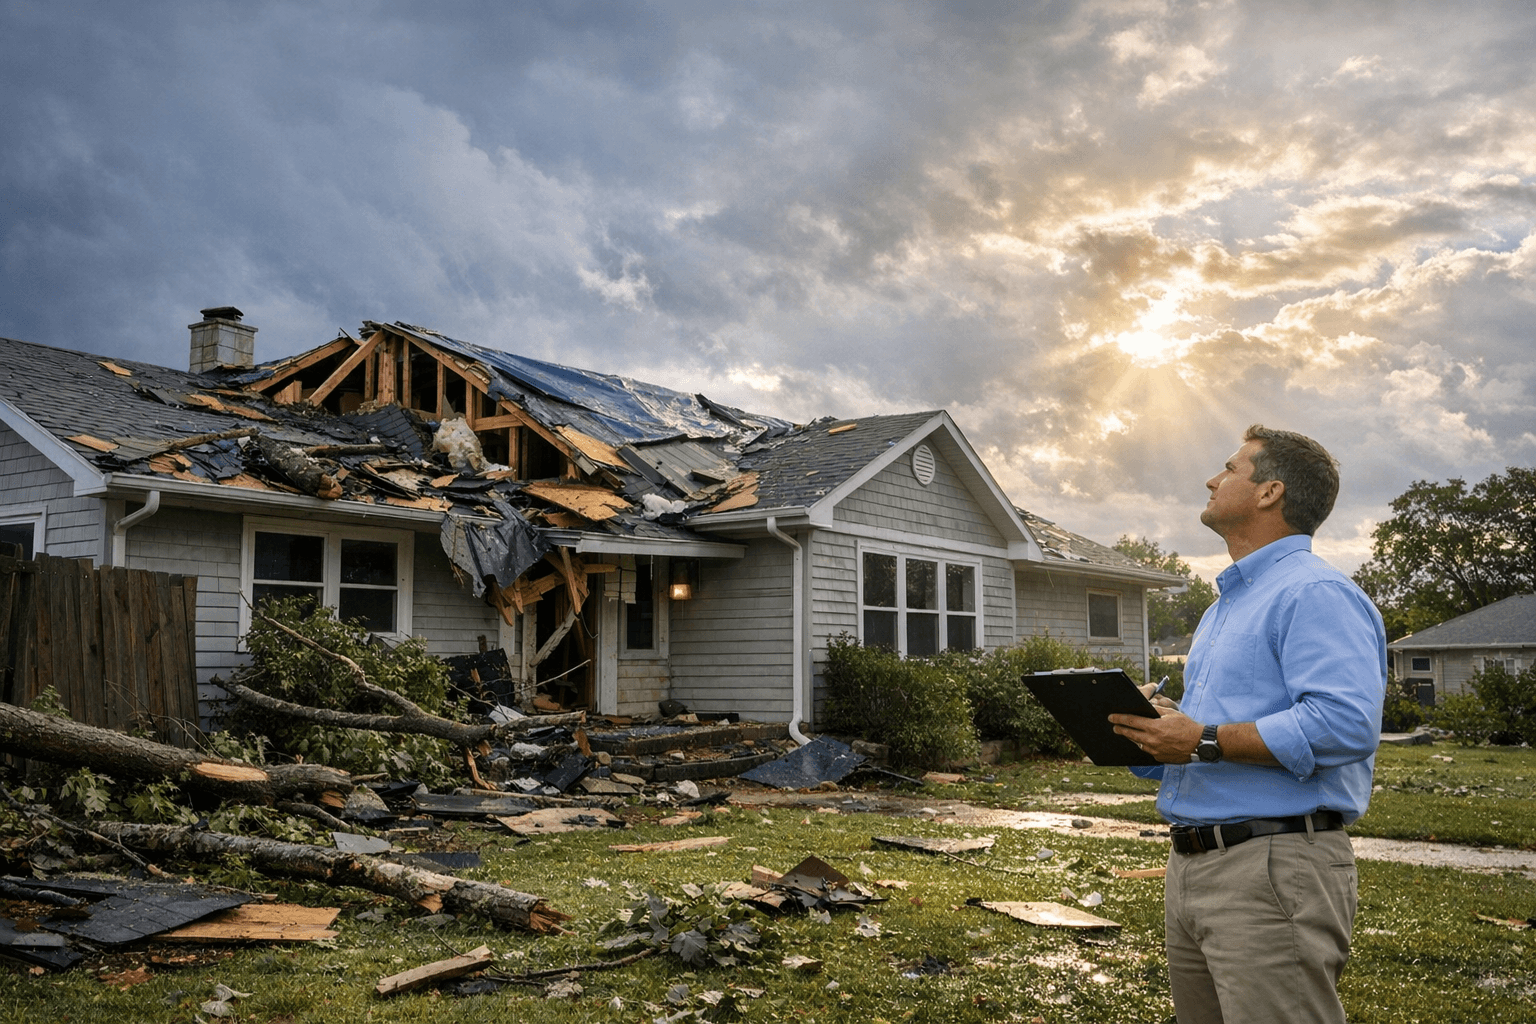
Maximize Your Roof Insurance Claim
Expert guidance to navigate claims and get the coverage you deserve
$12B
Annual Claims
65%
Underpaid
2-4x
Higher w/ Help

Your Claims Process Roadmap
Follow these steps to ensure a successful claim and maximum settlement
Safety First
Immediate
Document
24 hours
Contact Insurer
48 hours
Inspection
3-7 days
Meet Adjuster
1-2 weeks
Review Offer
2-3 weeks
Settlement
3-4 weeks
What's Typically Covered vs. Not Covered
Typically Covered
- Wind and hail damage
- Falling objects (trees, debris)
- Fire damage
- Lightning strikes
- Weight of ice and snow
- Vandalism
Typically Not Covered
- Normal wear and tear
- Poor maintenance
- Gradual deterioration
- Settling or cracking
- Mold or fungi
- Cosmetic damage only
Essential Documentation Checklist
Proper documentation is the key to maximizing your settlement
Insurance policy documents
CriticalPhotos of damage from multiple angles
CriticalPrevious inspection reports
ImportantReceipts for temporary repairs
ImportantProof of home ownership
RequiredTimeline of events
HelpfulEstimate Your Settlement
* This is an estimate only. Actual settlements vary based on policy terms.
Common Pitfalls to Avoid
Missing Deadlines
Most policies require filing within 1 year of damage
Accepting First Offer
Initial settlements are often 10-20% below actual costs
Using Wrong Contractors
Always verify insurance approval before starting work
When to Hire a Public Adjuster
Consider Professional Help When:
- Claim exceeds $10,000
- Insurance company disputes coverage
- Multiple types of damage involved
- You lack time to manage the claim
- Initial offer seems too low
Average Results:
* Based on average settlements. Individual results vary.
Most homeowners leave thousands on the table during roof insurance claims. This guide shows you exactly how to document damage, work with adjusters, and maximize your settlement.
Whether you're dealing with storm damage, hail, or other covered perils, understanding the insurance process is crucial. Follow this guide to ensure you get fair compensation for your roof repairs or replacement.
Detailed Step-by-Step Claims Process
Ensure Safety & Prevent Further Damage
Your safety comes first. Once safe, take reasonable steps to prevent additional damage:
- Cover holes with tarps (keep receipts for reimbursement)
- Document all temporary repairs with photos
- Don't make permanent repairs before adjuster visit
- Move valuables away from leaks
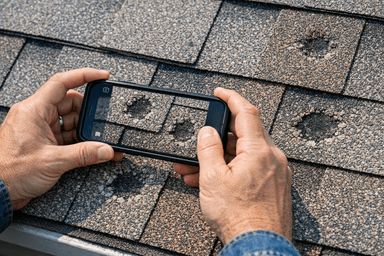
Document Everything Thoroughly
Proper documentation is crucial for a successful claim:
Photo Checklist:
- Wide shots of entire roof from multiple angles
- Close-ups of all damaged areas
- Interior damage (ceilings, walls, attic)
- Damaged personal property
- Date/time stamps on all photos
- Reference objects for scale (ruler, coin)

Contact Your Insurance Company
Call your insurer as soon as possible to start the claim:
- Have your policy number ready
- Report date and cause of damage
- Get claim number and adjuster contact
- Ask about coverage limits and deductibles
- Request email confirmation of claim filing
Get Professional Inspection
Don't rely solely on the insurance adjuster's assessment:
- Hire your own roofing contractor for inspection
- Get detailed written damage assessment
- Request itemized repair estimate
- Have contractor present during adjuster visit
- Document any disagreements
Meet with Insurance Adjuster
Be prepared and present during the inspection:
Adjuster Meeting Tips:
- Point out all damage areas
- Provide your documentation
- Take notes and photos of inspection
- Get adjuster's report in writing
- Don't sign anything immediately
- Ask questions about their findings

Review Settlement Offer
Carefully review the insurance company's offer:
- Compare to contractor estimates
- Check for missing damage items
- Verify pricing matches local rates
- Understand depreciation calculations
- Know your deductible amount
Negotiate if Necessary
Don't accept a low offer without discussion:
- Present contractor estimates as evidence
- Request re-inspection if damage missed
- Invoke appraisal clause if available
- Consider hiring public adjuster (10-15% fee)
- Document all communications
Common Mistakes to Avoid
❌ Waiting Too Long to File
Most policies require prompt reporting. Delays can lead to denial.
❌ Throwing Away Damaged Materials
Keep samples for adjuster inspection unless they pose safety risk.
❌ Accepting First Offer Immediately
Initial offers are often 20-50% below actual costs.
❌ Not Getting Multiple Estimates
One estimate leaves you without negotiation leverage.
❌ Signing Over Benefits to Contractors
Keep control of your claim and payment process.
Tips for Maximizing Your Settlement
Documentation Power
- • Keep maintenance records showing roof care
- • Save receipts for all temporary repairs
- • Create timeline of damage discovery
- • Video walkthrough with narration
- • Weather reports from damage date
- • Before photos if available
Professional Support
- • Experienced roofing contractor advocate
- • Public adjuster for large claims
- • Attorney for bad faith denials
- • Engineer reports for structural issues
- • Drone inspection documentation
- • Code upgrade requirements
Understanding Your Settlement
Key Terms Explained
- Replacement Cost Value (RCV)
- Full cost to replace your roof with similar materials at today's prices
- Actual Cash Value (ACV)
- RCV minus depreciation based on roof age and condition
- Depreciation
- Reduction in value due to age (recoverable in most policies)
- Deductible
- Your out-of-pocket amount before insurance pays
- Supplemental Claim
- Additional payment request for missed damage or increased costs
Typical Payment Structure
- First Check: ACV minus deductible (immediate)
- Second Check: Recoverable depreciation (after completion)
- Supplements: Additional damage found during work
Insurance Claim Red Flags
⚠️ Watch Out For:
Storm Chasers: Out-of-state contractors who appear after storms, often with high-pressure tactics and assignment of benefits schemes.
Lowball Estimates: Adjusters using outdated pricing or missing obvious damage to minimize payouts.
Policy Exclusions: Suddenly discovered limitations that weren't clearly explained when you bought coverage.
Delay Tactics: Repeated requests for documentation you've already provided or unreasonable investigation timelines.
When to Hire Professional Help
Public Adjuster
Consider when:
- Claim exceeds $10,000
- Extensive hidden damage
- Initial offer seems low
- Complex claim issues
Attorney
Necessary when:
- Claim wrongfully denied
- Bad faith suspected
- Policy interpretation disputes
- Significant underpayment
Engineer
Helpful when:
- Structural damage present
- Cause of damage disputed
- Code compliance issues
- Foundation affected
Your Insurance Claim Checklist
Print and Use This Checklist:
Need Help with Your Insurance Claim?
Our network of certified contractors works directly with insurance companies to maximize your settlement.